The first step is to open the NES up and start to remove the NES components inside. A lot of metal shielding and large 80s style PC parts are stacked up on each other and you have to kind of remove it all in layers, because some of the screws are under the upper component.


The next step is to prep the inside of the case for your design. For my build I need to remove almost all of the posts but remove them in a way that I can use them for a later idea I had. The easiest and best way to do this is with a Dremel tool.
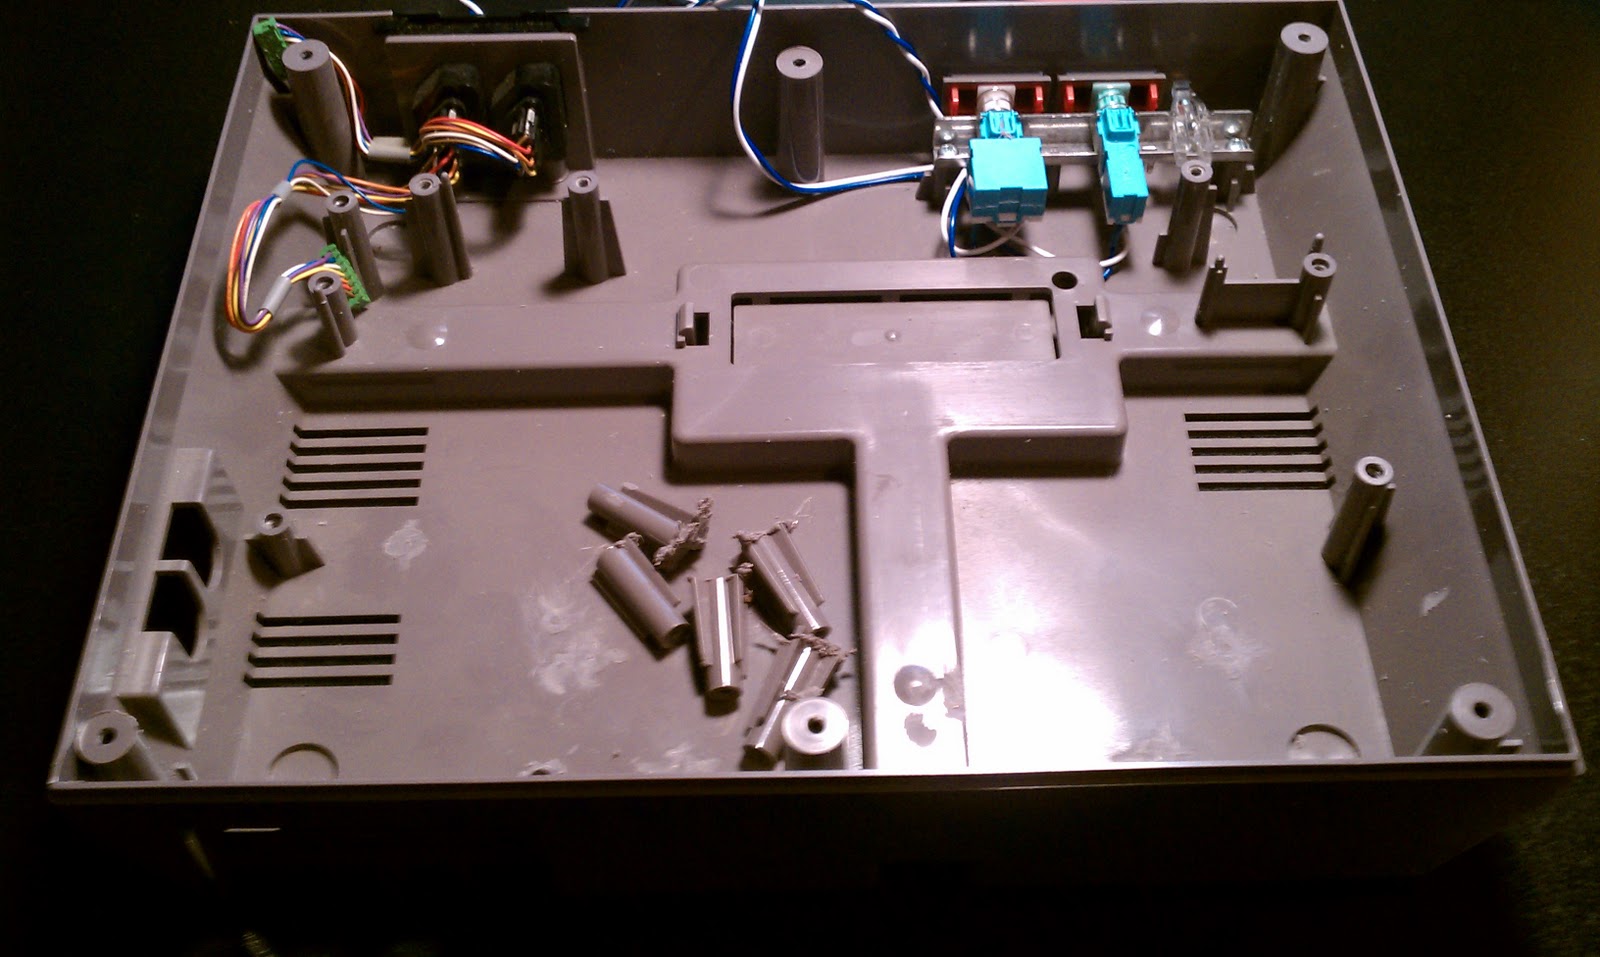

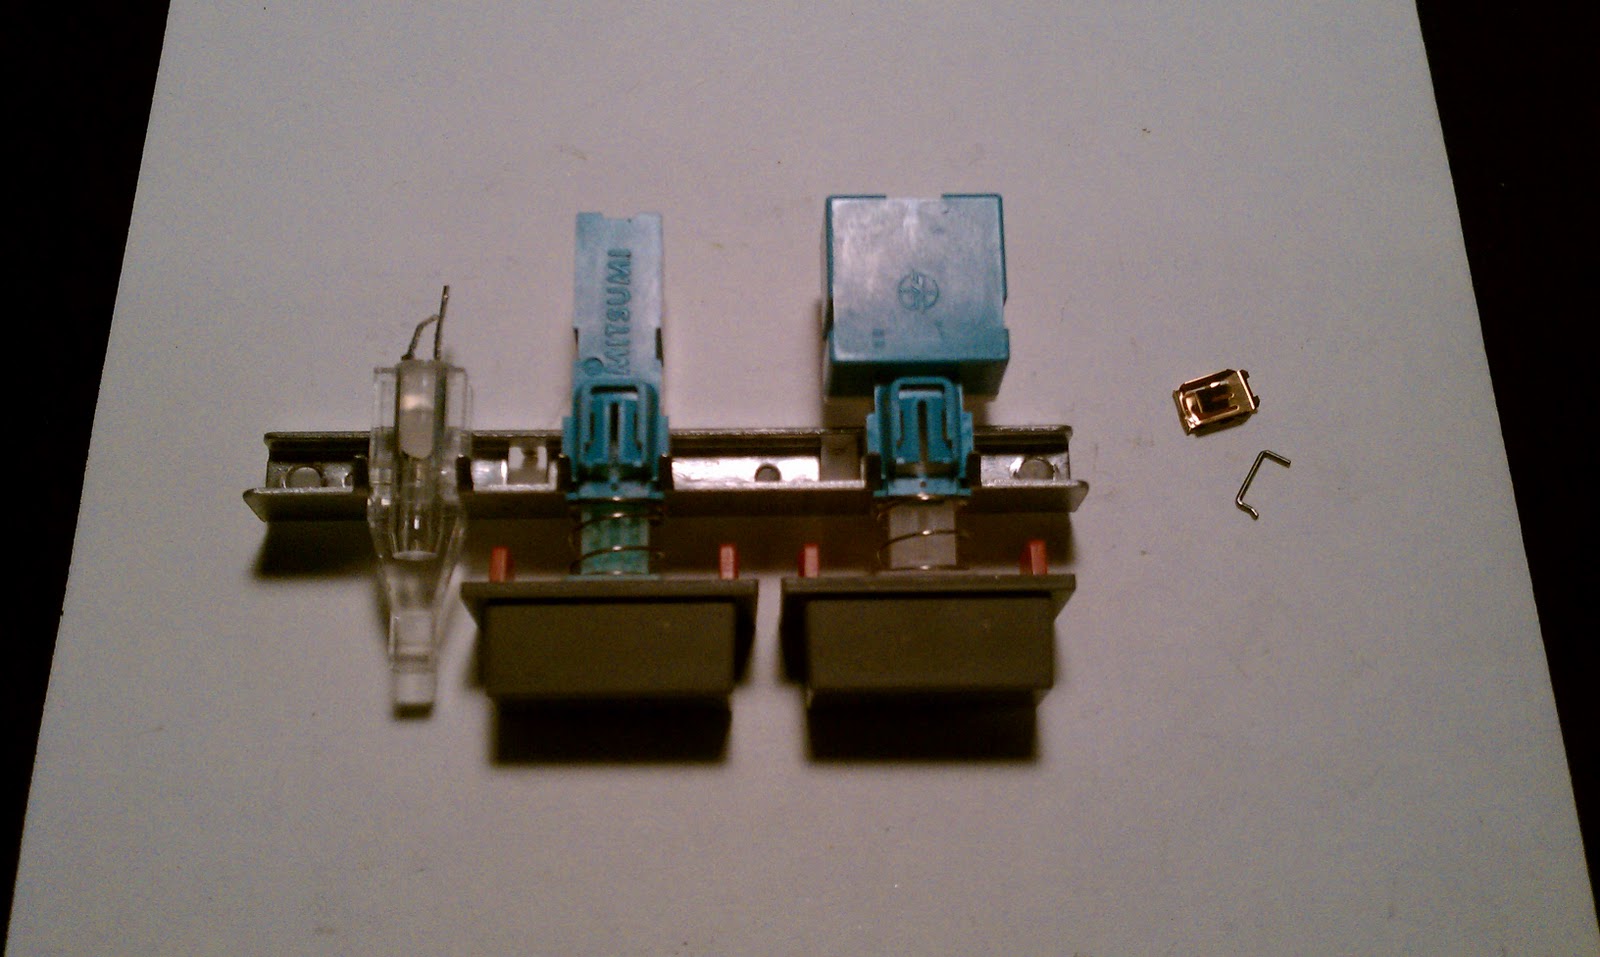
The next step since I had the parts was to rewire the Power and Reset buttons to function as PC Power and Reset buttons. Do do this I chose to remove the small circuit board to save space then wire the connectors I salvaged from another rig directly to the button posts. (Soldering & De-Soldering skills required)
- As side note is that to make the Power button functional with a pc you have to make it so that it doesn't stay depressed when you press it. To do this you have to remove the gold tab on the top and pull the small staple looking item out. Then it functions as you need it to. If you do not take this step the button will probably not function properly to start the PC.


No comments:
Post a Comment